Hey everyone, it’s your boy back at it again! Today, let’s talk about something I did for this year’s Fourth of July. You know how it is, Independence Day rolls around, and everyone’s looking for ways to spice up their celebrations. I decided to get crafty and make some cool signs for the occasion. Here’s how it all went down.
First off, I started brainstorming. What kind of signs would really pop? I knew I wanted something patriotic, of course, but also something that would stand out. I grabbed some paper and started sketching out some ideas. I thought about using the good old red, white, and blue, and maybe adding some stars and stripes to really capture that American spirit.
After I had a few solid ideas, I went to check out some ready-made designs. I looked at some examples to see what was out there. I saw a bunch of cool templates, but I wanted mine to be unique, you know? So, I took some inspiration and decided to make my own designs from scratch.
Next up, it was time to gather my materials. I hit up the local craft store and picked up some sturdy poster boards, some vibrant paints, and a bunch of brushes. Oh, and glitter! Can’t forget the glitter – it’s the Fourth of July, gotta have some sparkle! I also grabbed some stencils to help me with the stars and lettering. It took me a couple hours for me to find all the things.
With everything in hand, I set up my workspace in the backyard. I laid out all my supplies and got to work. I started by sketching the designs onto the poster boards. Then came the fun part – painting! I went all out with the red, white, and blue, making sure each sign had a bold and festive look. It took some time, but seeing it all come together was super satisfying.
- Sketching out ideas on paper.
- Choosing the right colors and patterns.
- Gathering materials from the craft store.
- Painting the designs and adding glitter.
- Letting the signs dry and setting them up.
Once the base colors were down, I used the stencils to add some crisp stars and stripes. And of course, I sprinkled a generous amount of glitter to make those signs shine. After the paint and glitter were all set, I added some finishing touches, like outlining the letters to make them pop even more.
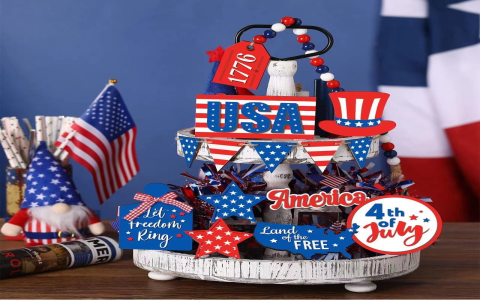
After a few hours of hard work, the signs were finally done. They looked amazing! I made a few different ones – a big “Happy 4th of July” banner, a few smaller ones with “USA” and “Let Freedom Ring,” and even one with a cool eagle design. It was a blast making them, and they really added something special to our celebration.
On the day of the party, I set up the signs around the yard. They were a huge hit! Everyone loved them and kept asking where I got them. It felt great to share something I made with my own hands. Plus, it made the whole place look super festive and patriotic.
So, that’s my story of making Fourth of July signs. It was a fun project, and it really made our Independence Day celebration extra special. If you’re thinking of getting crafty for your next event, I say go for it! It’s a great way to add a personal touch to your party and show off your creative side.
Final Thoughts
Making these signs was a ton of fun, and it really got me into the holiday spirit. I hope this inspires some of you to try out your own DIY projects. It doesn’t have to be perfect – just have fun with it! Until next time, stay awesome, and keep those creative juices flowing!