Hey everyone, it’s your buddy here, back with another one of my little DIY projects. Today’s topic, as you can probably guess, is about making “metal goat signs.” Sounds a bit out there, right? Well, stick with me, and you’ll see how it all came together. It was actually a lot of fun and maybe a little bit of a challenge, you know?
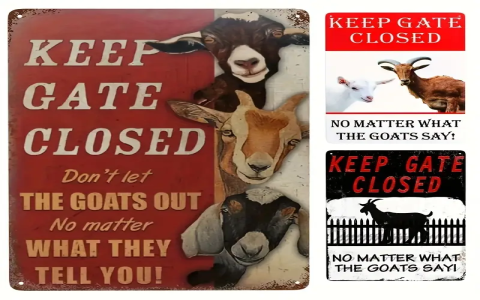
So, it all started when I was looking for something unique to add to my backyard. I wanted something that screams ‘me’ but also something that would add a little bit of a rustic, farm-like vibe, to be honest. My zodiac sign is the goat, so I did some random searches on the internet. I found that the lucky numbers for the metal goat are 2, 5, and 7, or any larger numbers containing these. And the lucky colors? Brown, yellow, red, and purple. Good to know, right? Then, boom! The idea of a metal goat sign hit me. I know it may sound kind of weird, but I thought it could be really cool and different. So what do I do? I jumped right into it. First things first, I needed to gather my materials. I made a list: a sheet of metal, some metal paints in brown, yellow, red, and purple, some brushes, and of course, a stencil of a goat. I also had to get my hands on some tools to cut and shape the metal. I’m not a pro at this, so I knew it was going to be a bit of a learning curve, but that’s what makes these projects interesting, right?
Getting to Work
I started by sketching out a goat design that I liked. It took a few tries, but I eventually settled on a simple, yet stylish design. I then transferred this design onto the metal sheet. Here’s where the fun began. I put on my safety goggles and gloves – safety first, people! – and started cutting the metal. Let me tell you, it wasn’t as easy as I thought. The metal was tough, and my hands were getting tired. But I pushed through, and after a lot of effort, I finally had my goat-shaped metal piece.
Next up was painting. I decided to go with a mix of those lucky colors I mentioned. I painted the base a solid brown, and then added some red and yellow patterns. I mixed in a bit of purple in there too, just for kicks. It was starting to look pretty awesome, if I may say so myself.
The Final Touches
- Once the paint was dry, I added a clear coat to protect it from the weather.
- I let that dry overnight – patience is key, my friends.
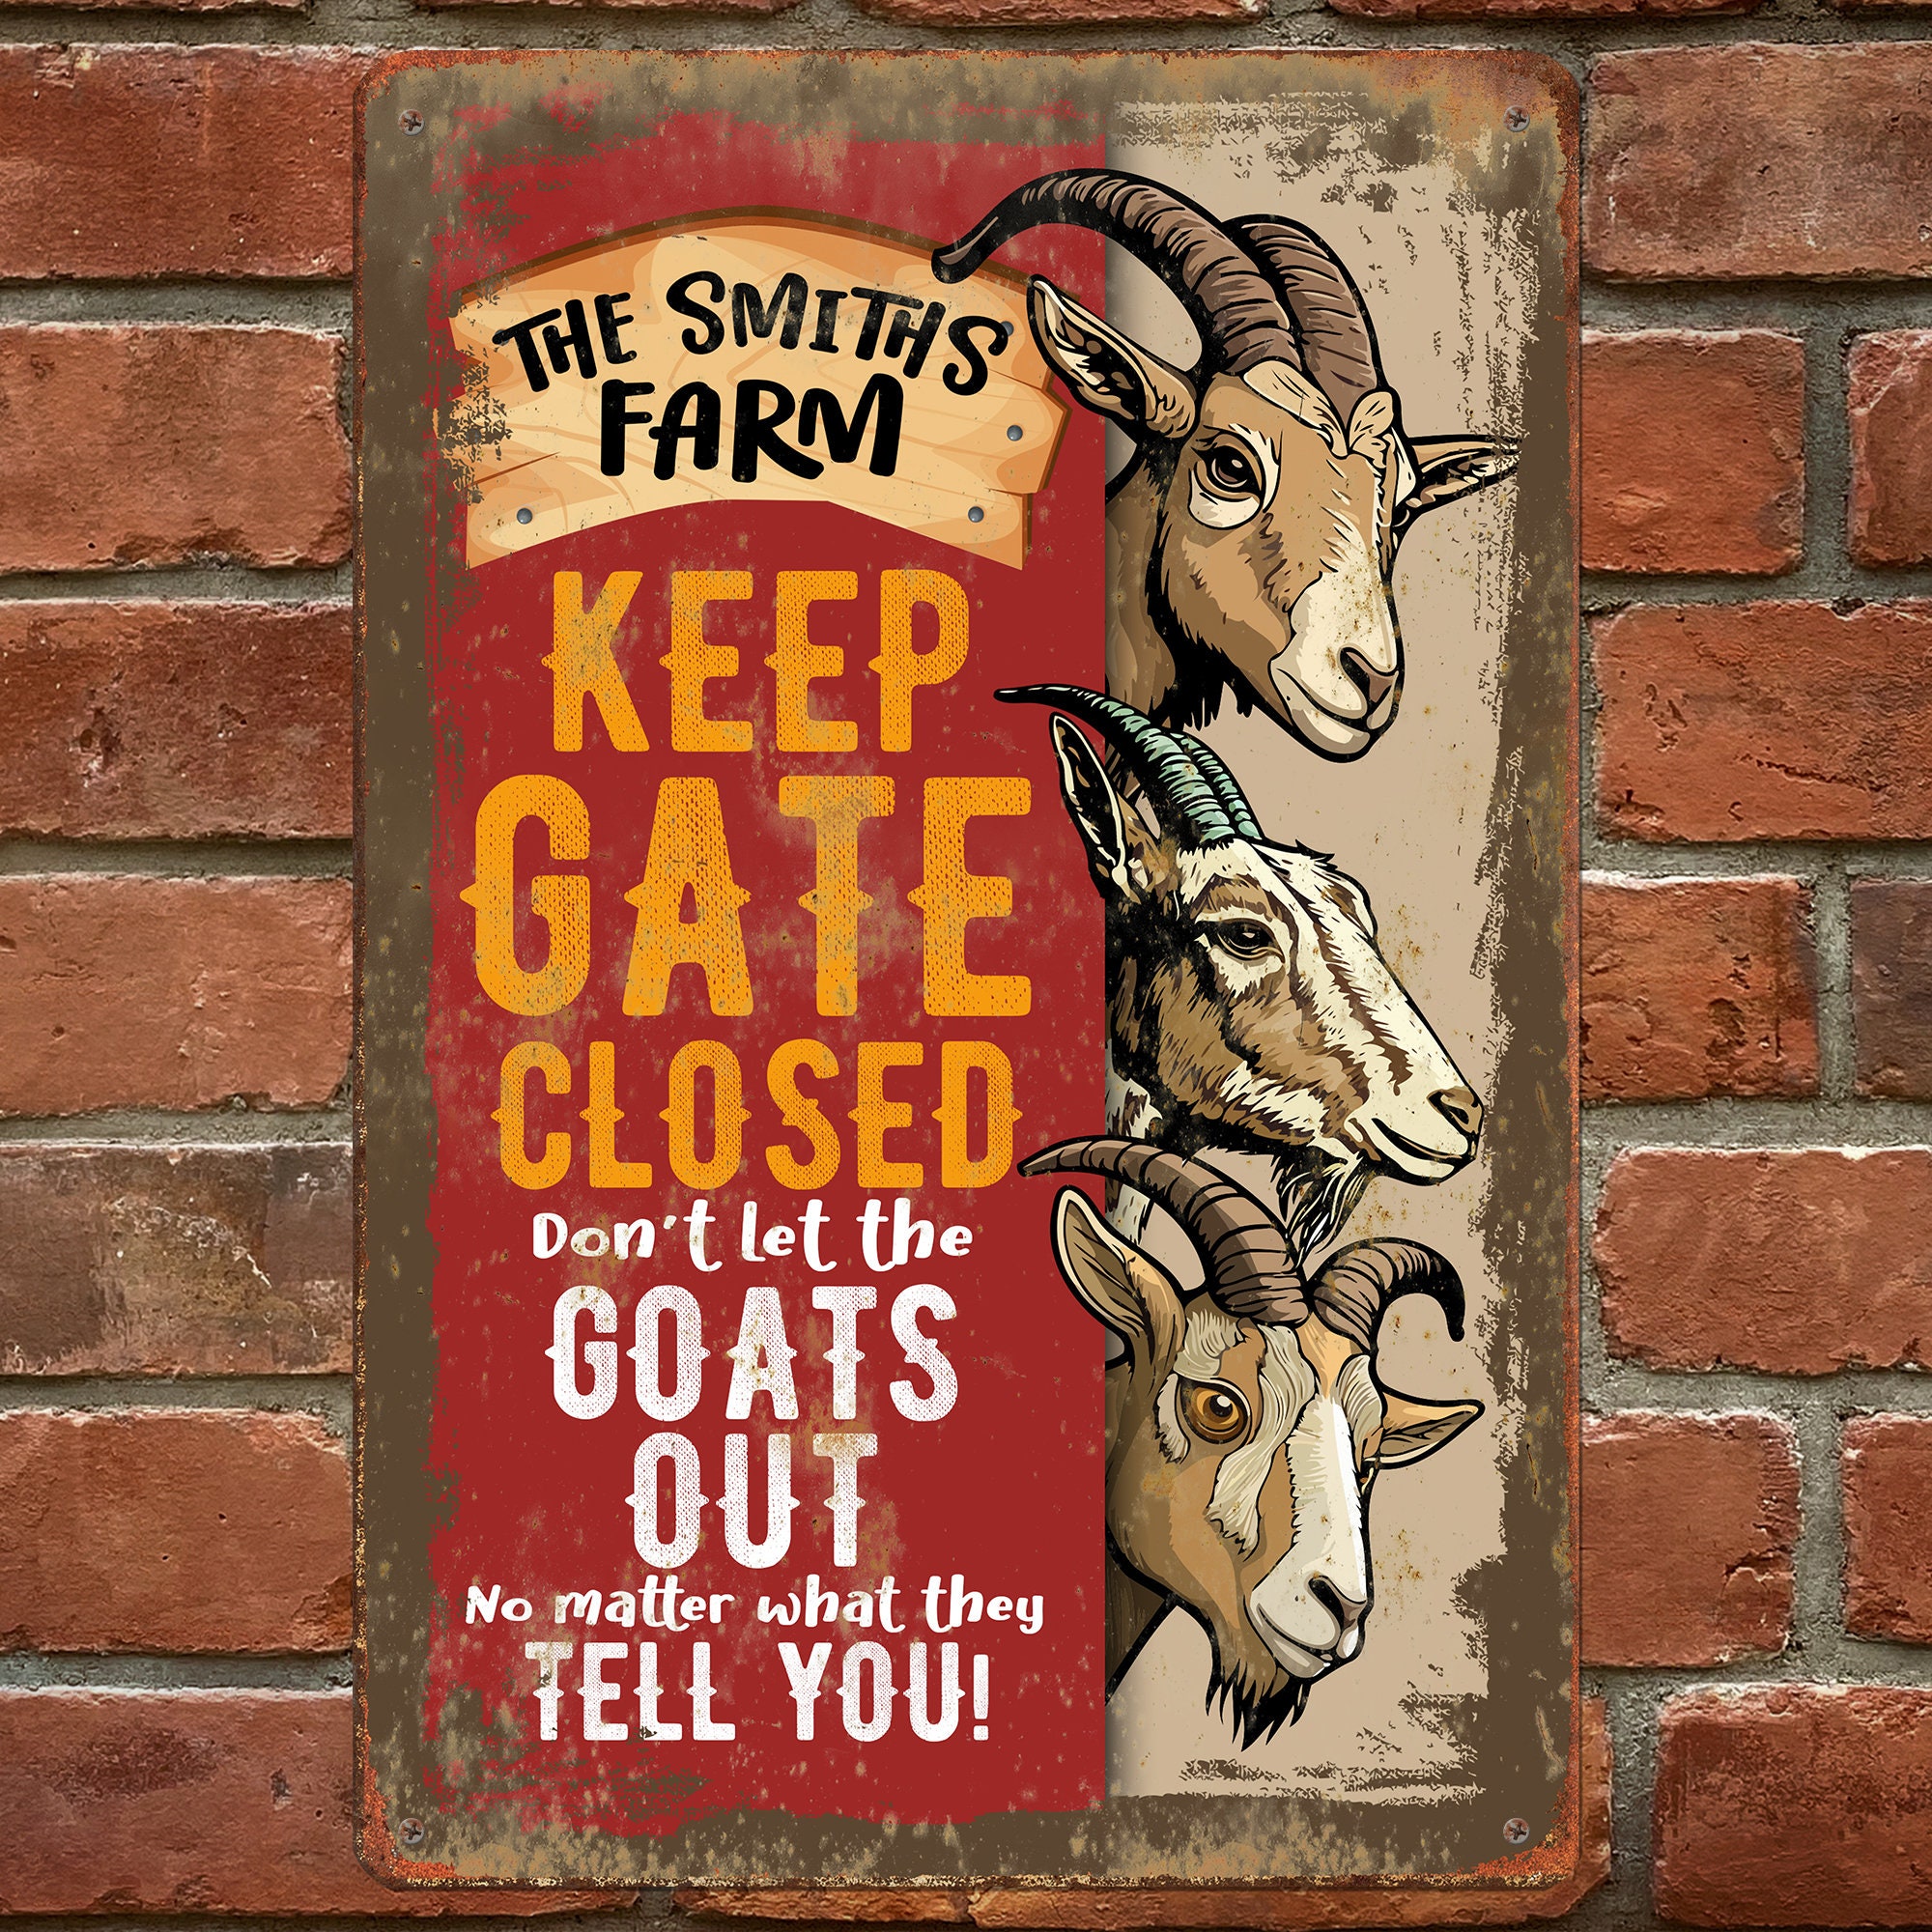
- The next day, I found the perfect spot in my backyard and hung it up.
And there it was, my very own metal goat sign, shining in the sun. It turned out even better than I had imagined. It’s got that rustic charm I was going for, and it’s definitely a conversation starter. Plus, it’s a nice little nod to my zodiac sign, which is kind of cool. Every time I look at it, I can’t help but smile. It’s not just a sign; it’s a piece of me, a result of my hard work and creativity. And hey, it’s proof that you don’t need to be a professional to make something amazing. So, if you’re ever thinking of spicing up your space, don’t be afraid to get your hands dirty and try something new. Who knows, you might surprise yourself with what you can create!
That’s all for this project, folks. Hope you enjoyed this little adventure of mine. Stay tuned for more DIY projects, and remember, the sky’s the limit when it comes to creativity. Peace out!