Okay, so I’ve been wanting to spice up my entryway, and I had this idea for a rustic, horse-themed sign. I love that farmhouse-chic look, and I figured, why not try making one myself? Let’s dive into how I made my “horse wood signs”.
Getting Started: The Wood
First things first, I needed some wood. I didn’t want anything fancy, just some basic planks. I headed to my local hardware store and grabbed a few pieces of pine. They were pretty rough, which was perfect for the look I was going for. I made sure to pick pieces that were relatively straight and didn’t have too many knots (though a few knots add character!).
Prepping the Wood
Back home, the first step was to give the wood a good sanding. I didn’t want it super smooth, just enough to take off the splinters and rough edges. I used a medium-grit sandpaper and went over each plank a couple of times. Then, I wiped everything down with a damp cloth to get rid of the dust.
Creating the Design
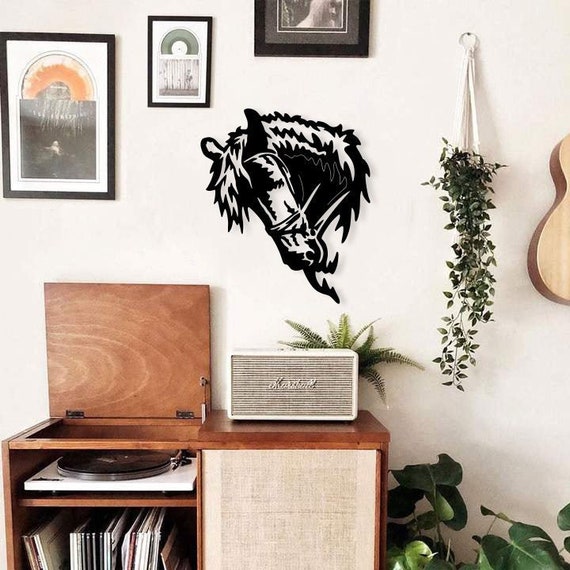
Now for the fun part! I wanted a simple silhouette of a horse’s head. I’m no artist, so I found a design I liked online and printed it out. Then, I carefully traced it onto the wood using some carbon paper. You could also use a projector if you have one, but the carbon paper worked just fine for me.
Time to Stain
I wanted a warm, aged look for the wood, so I opted for a dark walnut stain. I applied a thin coat with a brush, making sure to get into all the nooks and crannies. After letting it sit for about 15 minutes, I wiped off the excess with a clean rag. The longer you leave the stain on, the darker it will be, so keep that in mind.
Painting the Horse
Once the stain was completely dry, it was time to paint the horse silhouette. I chose a creamy off-white color for this. It gives a nice contrast against the dark stain. I used a small brush and carefully painted inside the lines I had traced earlier. It took a couple of coats to get good coverage.
Adding Some Details and Finishing Touches
- I wanted to add a little something extra, so I decided to add some text.
- I used some letter stencils and the same off-white paint to add the word “Welcome” above the horse.
- You could also add your family name or a fun phrase.
- Finally I gave the whole thing one last sanding and protection.
The Final Result!
And there you have it! My very own, handmade horse wood sign. It was a pretty easy project, and I’m so happy with how it turned out. It adds just the right touch of rustic charm to my entryway. It’s a great feeling to create something with your own hands, and this project was definitely a satisfying one. Give it a try, I am sure you’ll like it.